
Blog
The Blog lets you create and publish posts for your brand’s site. Each post is built with the same Puck block editor used for pages, with additional blog-specific settings for status, featured image, excerpt, and categories.
When you’d use this
Section titled “When you’d use this”- Publishing an announcement, promotion, or educational post to your brand’s site
- Drafting content for review before publishing
- Scheduling a post to go live on a specific date
The blog list
Section titled “The blog list”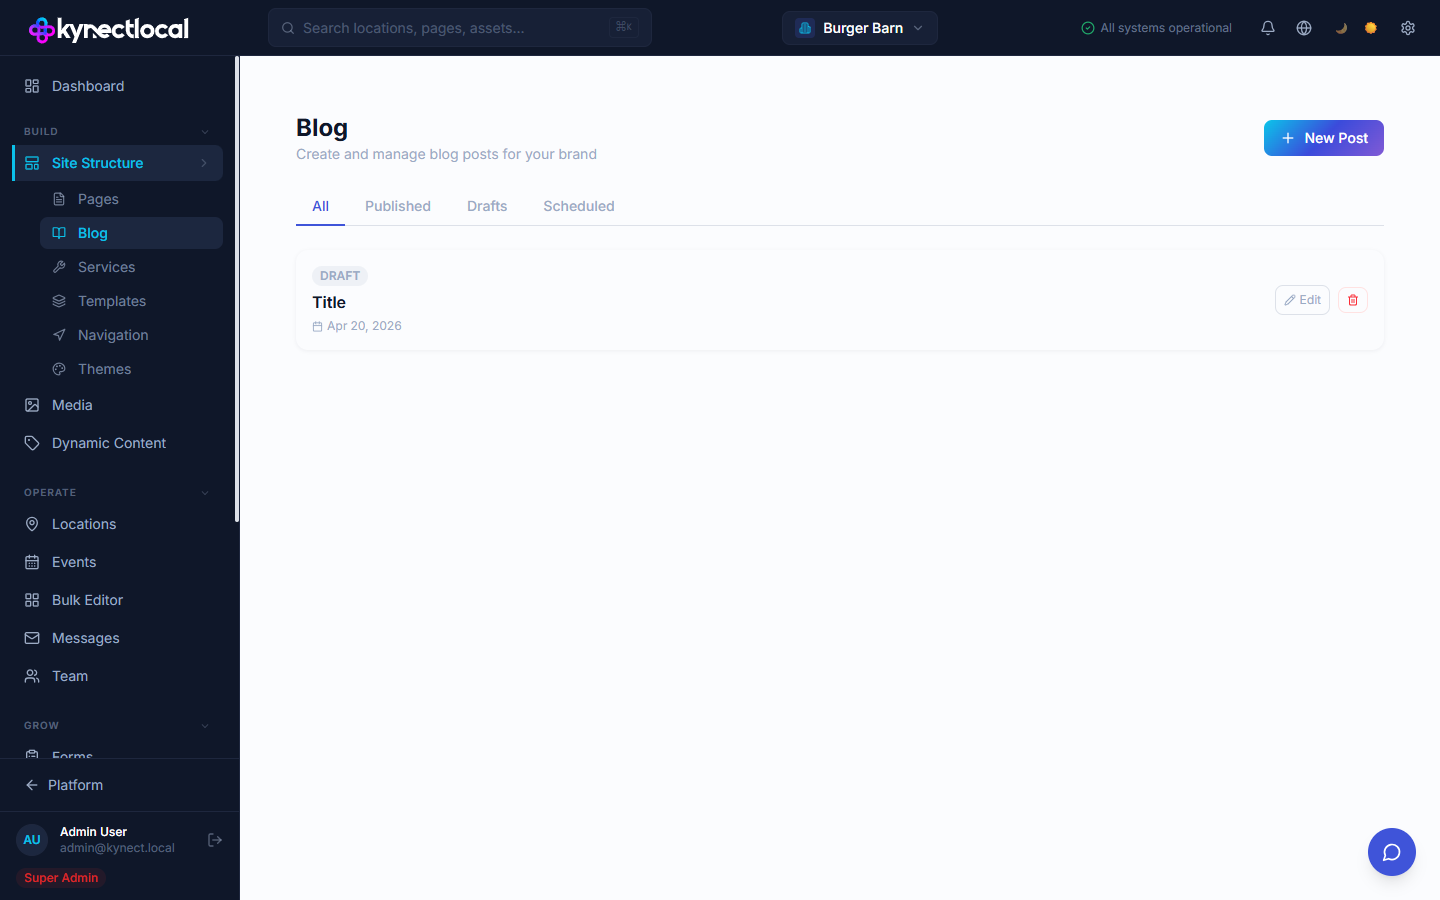
Go to Build → Site Structure → Blog to manage all posts.
Use the filter tabs to view posts by status:
| Tab | What it shows |
|---|---|
| All | Every post regardless of status |
| Published | Posts currently live on the site |
| Drafts | Saved but unpublished posts |
| Scheduled | Posts set to publish at a future date |
Each post row shows its status badge, title, publish date, and action buttons (Edit, Delete).
Creating a post
Section titled “Creating a post”- Go to Build → Site Structure → Blog.
- Click + New Post.
- The editor opens with a blank post in Draft status.
- Enter the post title in the title bar.
- Build the post content using blocks in the left panel.
- Fill in Post Settings on the right (see below).
- Click Save Draft to save, or Publish to make the post live.
The blog editor
Section titled “The blog editor”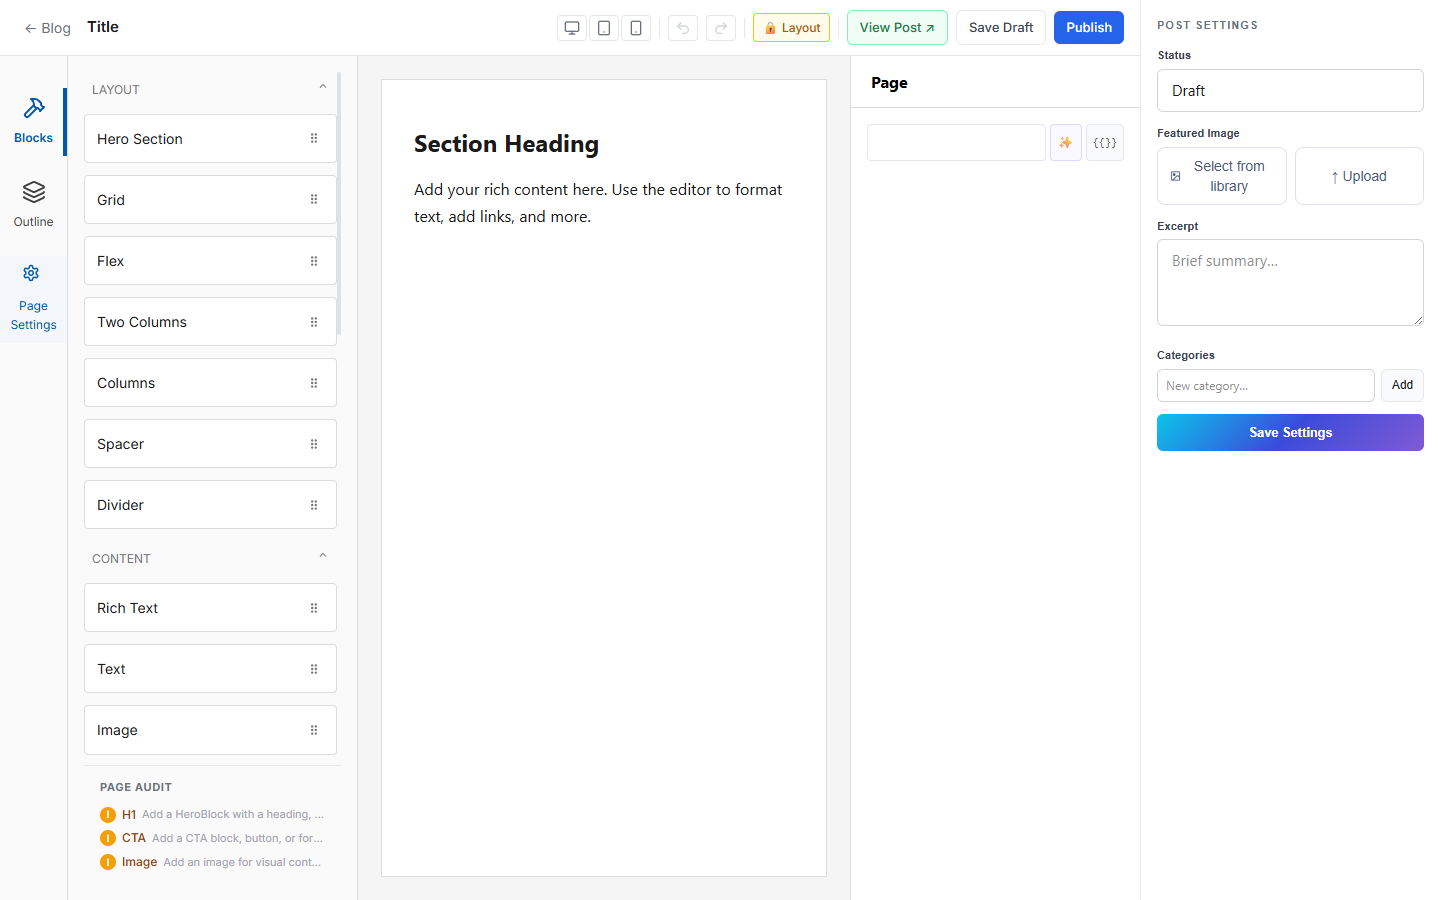
The editor is divided into three panels:
Left — Blocks and outline
The left panel has three tabs:
- Blocks — drag blocks onto the canvas. Block categories: Layout, Content, Social Proof, Lead Capture, Location, Content & Posts.
- Outline — a tree view of all blocks on the canvas.
- Page Settings — title, URL slug, SEO title, meta description, and noindex toggle.
Center — Canvas
The canvas shows the post as it will render. Click any block to select and edit it. Use the viewport buttons (Desktop / Tablet / Mobile) to preview at different screen sizes.
Right — Post Settings
| Setting | Description |
|---|---|
| Status | Draft, Published, or Scheduled |
| Featured Image | Select from the media library or upload a new image |
| Excerpt | Short summary shown in post listings and previews |
| Categories | Tag the post with one or more categories |
Click Save Settings after changing post settings. Click Save Draft or Publish to save the post content.
Post status
Section titled “Post status”| Status | Behavior |
|---|---|
| Draft | Saved and visible only in the admin |
| Published | Live on the site |
| Scheduled | Set to publish automatically at a future date and time |
Page settings (SEO and slug)
Section titled “Page settings (SEO and slug)”Click Page Settings in the left panel to configure:
- Title — the post’s display title (also used as the H1). Supports token insertion.
- URL slug — the path for the post (e.g.
/blog/oil-change-tips). Editable, but changing it will break existing links. - SEO Title — overrides the title tag in search results. Supports AI generation and tokens.
- Meta Description — the description shown in search results. Supports AI generation and tokens.
- Hide from search engines (noindex) — prevents search engines from indexing this post.
Layout lock
Section titled “Layout lock”Click 🔒 Layout in the header to lock the current block structure. When locked, you can still edit block content (text, images) but cannot add, remove, or reorder blocks. This is useful when sharing editing access with others.
Related
Section titled “Related”- Pages & Content (Puck) — the same block editor used for all site pages
- Media — upload and manage images used as featured images
- Navigation — link to the blog from the site header or footer