
Navigation
The Navigation editor lets you define the header and footer menus for your franchise sites. You build one navigation structure and it applies consistently across all location pages — with visibility rules that let items appear or hide based on each location’s data.
When you’d use this
Section titled “When you’d use this”- Setting up the header menu for your location sites at launch
- Adding a new page (like a blog or services page) to the navigation
- Linking to an external URL from the nav (such as your corporate site or ordering system)
- Hiding a nav item on locations that don’t have services configured
Contexts and navigation types
Section titled “Contexts and navigation types”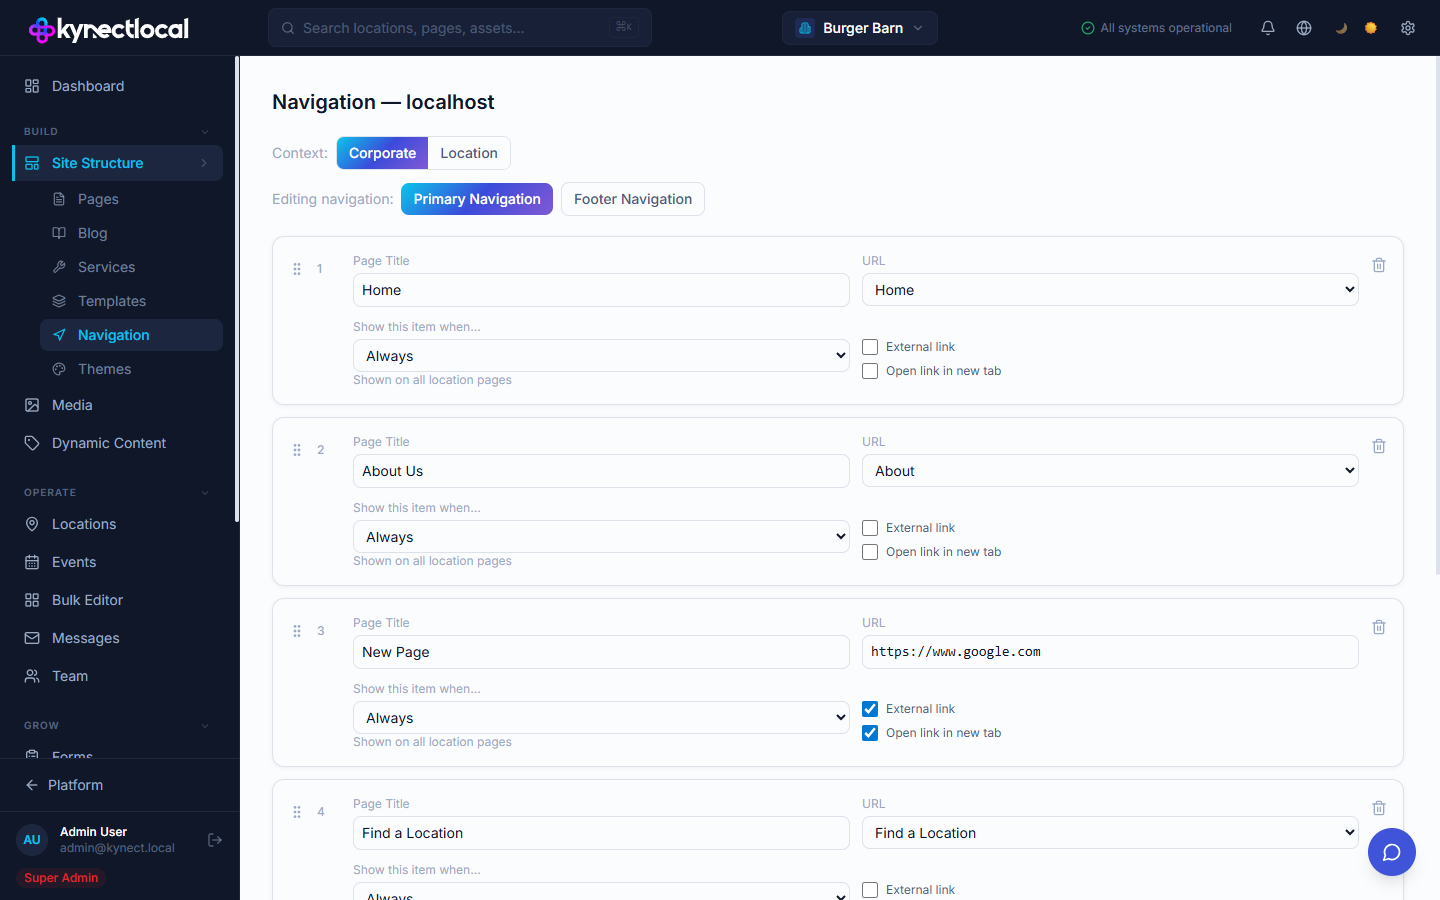
The page heading shows your brand’s domain (e.g. Navigation — burgerbarn.com). In local development it shows localhost.
The Navigation editor has two dimensions:
Context — which site the navigation applies to:
- Corporate — the brand’s main marketing site (e.g.
burgerbarn.com). This nav is brand-wide and does not vary by location. - Location — the individual location pages across your network (e.g.
burgerbarn.com/locations/phoenix). This nav is shared across all location pages but can show or hide items per location using visibility conditions.
The two contexts are independent. Corporate nav does not cascade into Location nav.
Navigation type — which menu you’re editing:
- Primary Navigation — the main header menu
- Footer Navigation — the links in the page footer
Switch between them using the Context and Editing navigation tabs at the top of the editor.
Adding a nav item
Section titled “Adding a nav item”- Go to Build → Site Structure → Navigation.
- Select the context (Corporate or Location) and navigation type (Primary or Footer) you want to edit.
- Click + Add Item.
- Fill in the Page Title — the label visitors see in the menu.
- Set the URL:
- Choose a named page from the dropdown (e.g., Home, About, Find a Location) to link to a page on the site.
- Choose Custom URL and enter a full URL to link to any address.
- If linking to an external site, check External link. The URL field switches to a text input where you enter the full address.
- Optionally check Open link in new tab.
- Set the Show this item when… visibility condition (see below).
- Click Save Navigation.
URL types
Section titled “URL types”| URL option | When to use |
|---|---|
| Named page (Home, About, etc.) | Linking to a page that exists on the location site |
| Find a Location | A special link that routes to the brand’s location finder |
| Custom URL | External sites, ordering links, or any URL not in the dropdown |
Visibility conditions
Section titled “Visibility conditions”The Show this item when… setting controls whether a nav item appears on a given location’s site:
| Condition | Behavior |
|---|---|
| Always | Shown on every location page |
| Location has services | Only shown if the location has services added to its profile |
| Page exists at this URL | Only shown if the linked page exists and is published for that location |
| Never (hidden) | Hidden from the nav on all locations — useful for temporarily removing an item without deleting it |
Reordering items
Section titled “Reordering items”Drag the handle (⠿) on the left side of any nav item to change its position. The order you set here is the order items appear in the live menu. Click Save Navigation after reordering.
Previewing for a location
Section titled “Previewing for a location”The Preview for Location panel at the bottom of the editor lets you select a specific location and see which nav items will be visible for that location based on the visibility rules you’ve set.
Related
Section titled “Related”- Pages & Content (Puck) — add pages that can then be linked in navigation
- Services — location services data that drives the “Location has services” visibility condition
- Themes — controls the visual style of the header and footer that navigation renders in