
Calendly
Connecting Calendly gives your brand two things: a live Bookings feed that pulls upcoming and past appointments from your Calendly organisation into KynectLocal, and the ability to embed Calendly scheduling widgets directly on location pages using the Calendly Booking Puck block.
When you’d use this
Section titled “When you’d use this”- Seeing all upcoming appointments across locations in one place
- Embedding a booking calendar on a location’s website without writing code
- Letting franchisees set their own personal Calendly URL without touching the brand-level token
Step 1 — Get a Personal Access Token from Calendly
Section titled “Step 1 — Get a Personal Access Token from Calendly”KynectLocal connects to Calendly using a Personal Access Token (PAT). This token must belong to an account that has organisation-level access in Calendly so that KynectLocal can read events across all team members.
- Log in to calendly.com as your organisation admin
- Click your avatar → Profile → Integrations & apps
- Under API & Webhooks, click Personal Access Tokens
- Click Create new token, give it a name (e.g.
KynectLocal), and copy the value shown
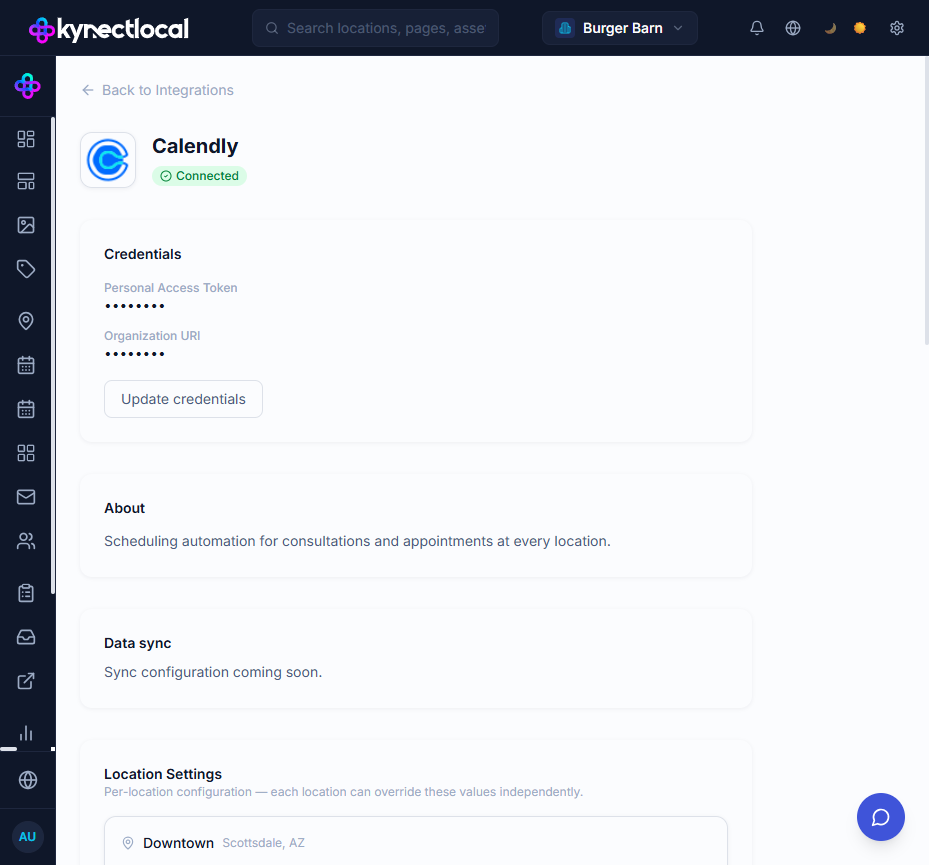
Step 2 — Connect in KynectLocal
Section titled “Step 2 — Connect in KynectLocal”- Go to Apps → Integrations
- Find Calendly in the Scheduling section and click Connect
- Paste your Personal Access Token into the field and click Save
Once saved, the card shows a Connected badge. KynectLocal immediately fetches your Calendly organisation URI and queues a first sync of your scheduled events.
What gets synced
Section titled “What gets synced”After connecting, KynectLocal pulls all scheduled_events from your Calendly organisation and stores them in the Bookings page:
| Field | Source |
|---|---|
| Customer name | Calendly invitee name |
| Customer email | Calendly invitee email |
| Service / event type | Calendly event type name |
| Start time | start_time |
| End time | end_time |
| Status | active or past |
| Host / staff | Calendly event member |
Syncs are triggered automatically when you open the Bookings page (with a 5-minute cache to prevent hammering the API). You can also navigate away and back to force a fresh check.
See Bookings for filtering, date ranges, and location scoping.
Per-location scheduling URLs
Section titled “Per-location scheduling URLs”Each location can override the default Calendly booking link shown in embed widgets. This is useful when individual franchisees have their own Calendly accounts (a personal booking page) rather than sharing the brand-level organisation link.
For brand admins
Section titled “For brand admins”- Go to Apps → Integrations → click Calendly to open the integration detail
- Scroll to Location Settings
- Enter a Scheduling URL for each location (e.g.
https://calendly.com/jane-at-location-a) - Click Save on each row
For franchisees
Section titled “For franchisees”Franchisees can set their own scheduling URL from their dashboard:
- Log in and go to your Dashboard
- Find the Integrations card
- Enter your personal Calendly link under Scheduling URL
- Click Save
Franchisees can only edit their own location’s URL. They cannot see other locations’ settings.
Embedding a booking widget on a page
Section titled “Embedding a booking widget on a page”The Calendly Booking block is available in the Puck page editor under the Integrations category.
Block options
Section titled “Block options”| Option | Description |
|---|---|
| Calendly URL | Leave blank to use the location’s saved scheduling URL; fill in to override for this specific block |
| Embed Style | Inline Calendar renders the full calendar inline; Popup Widget shows a floating calendar button; Popup Text Link shows a clickable text link |
| Height (px) | Height of the inline calendar (inline style only, default 630px) |
| Popup Link Text | Text shown on the button or link (popup styles only) |
| CSS ID / Classes | Optional identifiers for custom styling |
Disconnecting Calendly
Section titled “Disconnecting Calendly”- Go to Apps → Integrations → click Calendly
- Scroll to the Danger zone section
- Click Disconnect
Disconnecting removes the stored token. Existing booking records in the Bookings page are not deleted — they remain for historical reference but will no longer update.
Related
Section titled “Related”- Bookings — view and filter synced appointments
- Pages & Content (Puck) — how to add blocks to a page
- Integrations — overview of all available integrations